
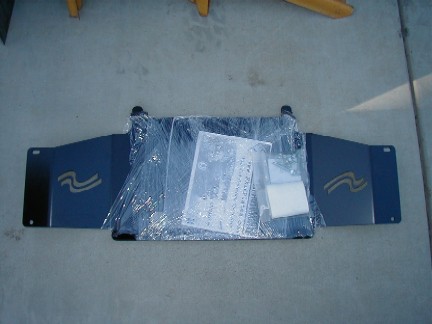
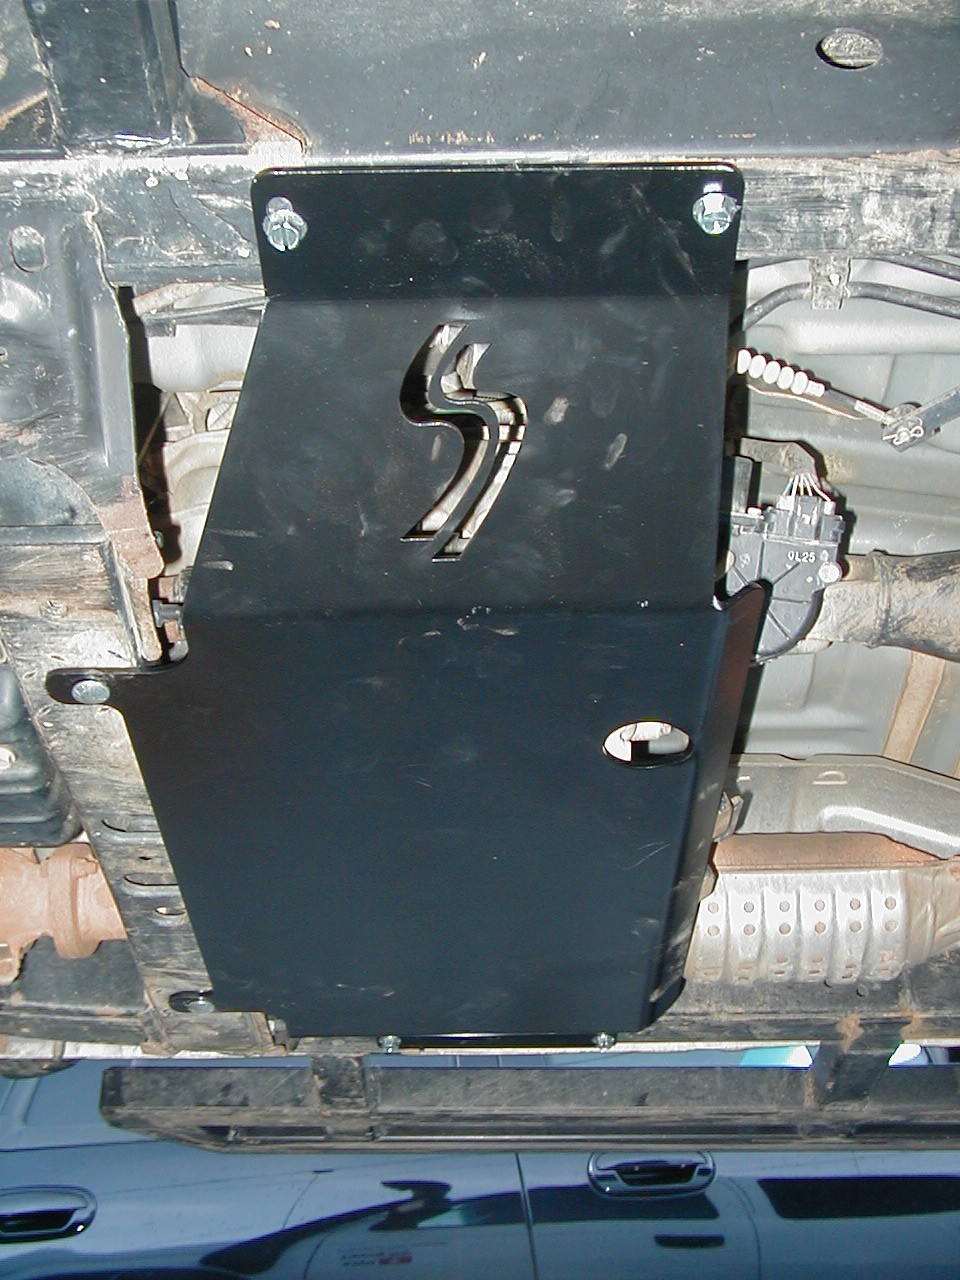
Even though I was going to make my own skid plates for the front of the Tacoma, I found that Skid Row had a transfer case skid that I could use. At $175, it was hard to justify spending the time and money trying to make one!
The protection offered over the stock skid plate is huge! The installation took about 30 minutes.
To see the instrucions that came with the scrape plate click HERE.


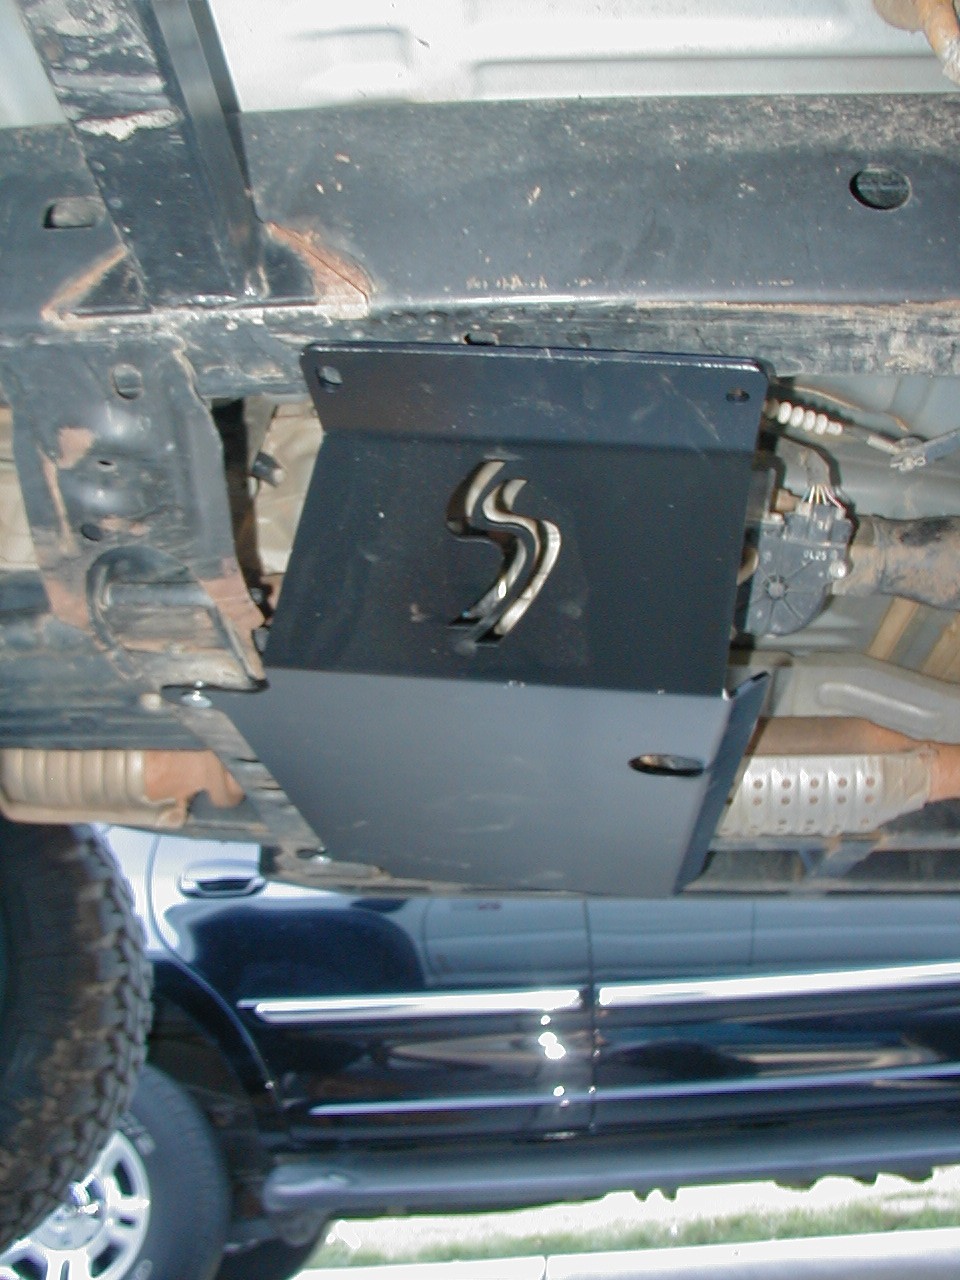
The next step is to use the included bolts to mount it to the crossmember using existing holes. Once this is done, use a jack to hold the plate tightly against the frame and drill 4 5/16 holes using the holes in the skid plate as a template.
Click on the picture for a full size image.

Once the holes are drilled, use the provided self tapping bolts to attach the skid plate to the frame.
Thats all it takes to install it!
Click on the picture for a full size image.
Here is a shot from the other side. Again, the protection over the small stock skid is incredible!
Click on the picture for a full size image.

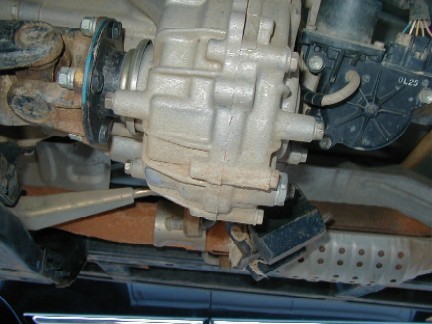
The couter weight fit nicely into the curved up lip on the new skid plate. While there was a little room, about 1/16th of an inch, I was worried that when the transfer case moved under torque that it may hit the skid plate. There was a easy fix for this problem!
Click on the picture for a full size image.


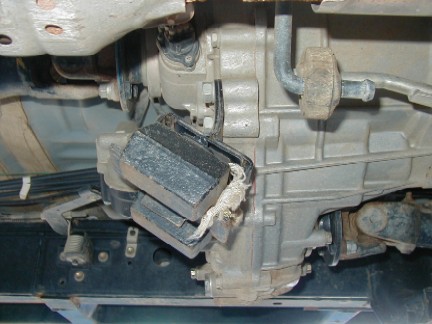
Here is a picture of the rear of the counter weight mount. The two bolts that hold the counter weight on do not affect anything else.
Another easy to install item!