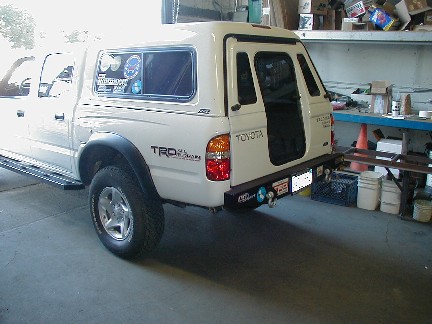
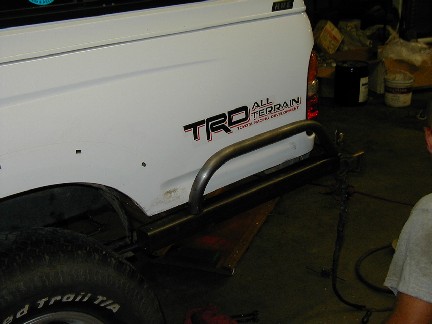
So I dont know how
I have gone this long without hitting the rear overhang on my Tacoma!
I have come close a few times, but never hit it. With
the upcoming Rubicon run, I decided it was time to take precautions
before I did some damage.
|
|
|
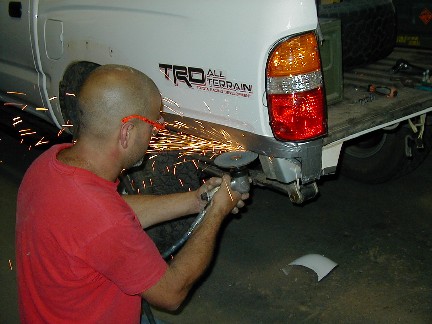
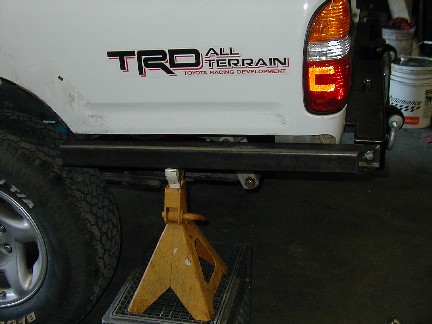
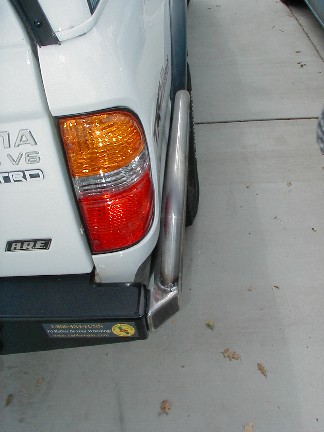
Here
is the before picture.
|
|
|
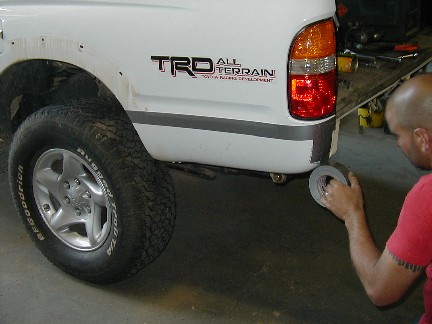
The
first step was to remove the fender flares, and remove part of the fender
liners.
|
|
|
Next,
we figured out where we wanted to cut the panel off, then masked it to
protect the paint.
|
|
|
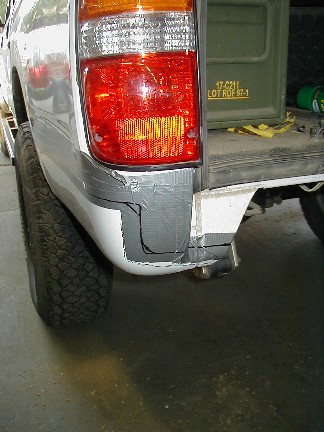
Once
the mask was on, we made the lines where we were going to cut.
|
|
|
The
rear area we made a rough guess, and figured we would see what it looked
like when we started cutting.
|
|
|
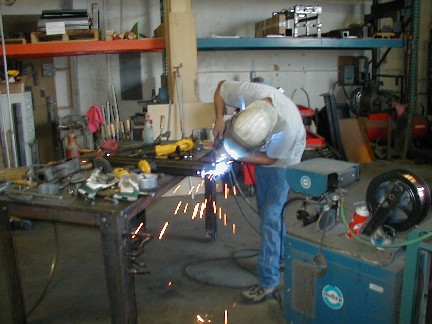
It
was then time to start cutting!
|
|
|
We
figured we would take off some in the corner, then see where we needed
to go from there.
|
|
|
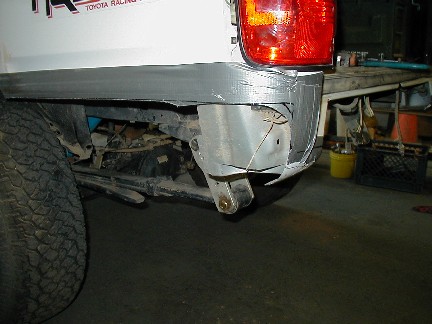
Here
is the rear with both sides cut.
|
|
|
Next
the edges were cleaned up.
|
|
|
Off
came the tape. The corners would need some more taken off, but we
will wait until later.
|
|
|
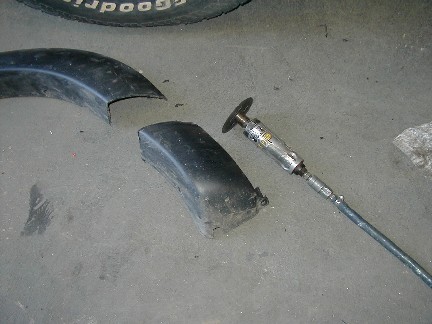
Here
are the "spare" parts we created.
|
|
|
We
put the bumper back on, and started to figure out the protection design.
|
|
|
I
cut the flares off so we could hold them up and see how they would fit
the new lines.
|
|
|
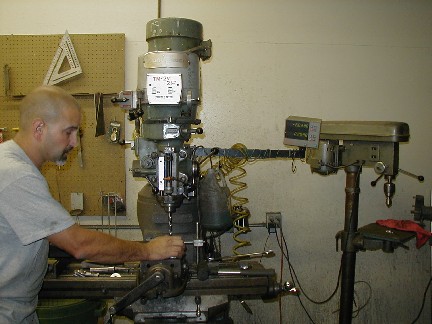
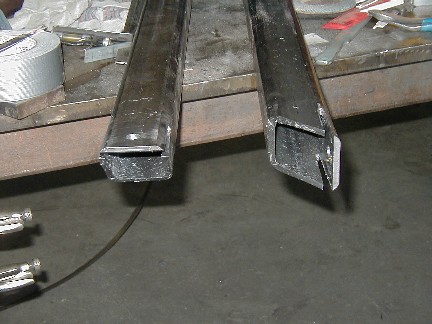
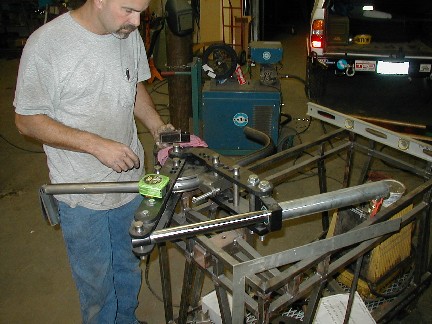
Eric
had already cut the square tube, and he drilled holes and slotted the
ends so we could angle them.
|
|
|
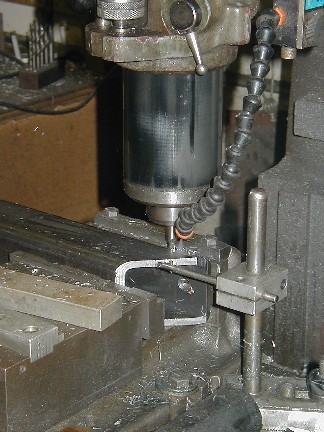
Making
the slots in the square tubes.
|
|
|
Tubes
done.
|
|
|
Eric
welded bolts into the tubes.
|
|
|
A
hole was made in the rear bumper, and then we could set up the tube and
move onto the hoop.
|
|
|
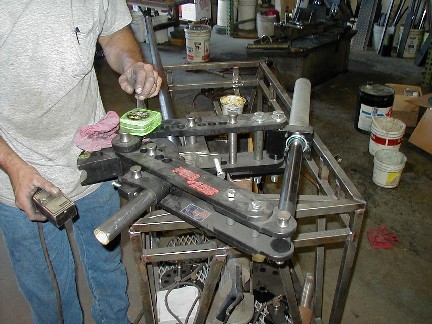
We
made some initial measurements and started bending tube.
|
|
|
The fist was great
as far as the angles were concerned, but it needed to be slightly longer,
so back to the bender!
Note the "dirt
shadow" from the flare.
|
|
|
The
second try was perfect!
|
|
|
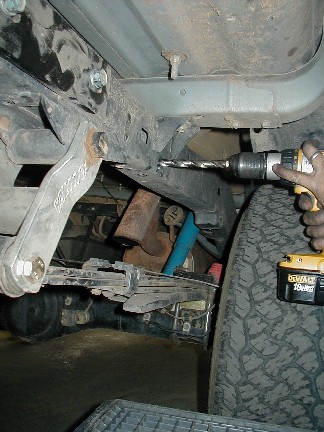
We
then started to give the square tube some support. We used one bolt
from the spare tire crossmember, and made another new one in the frame
also.
|
|
|
Here
you can see the spare tire mount with the arrow pointing to the bolt we
removed.
|
|
|
With
a L shaped bracket, it bolts to the bottom and side of the frame.
|
|
|
Bending
the second hoop.
|
|
|
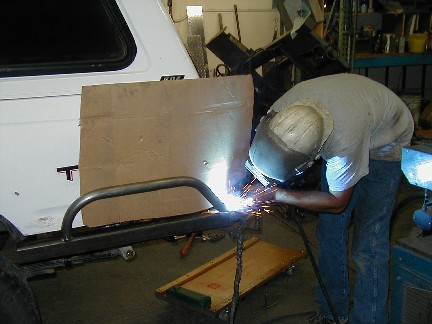
Tacking
the hoops on.
|
|
|
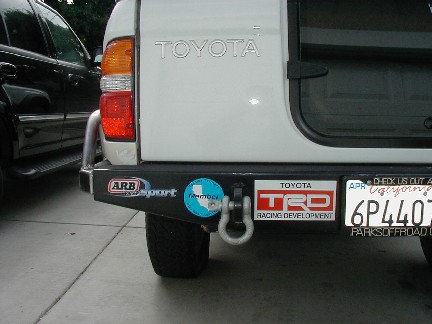
Here
is what the finished product looks like! The ends are capped,
welds smoothed, etc.
|
|
|
From
the Bottom...
|
|
|
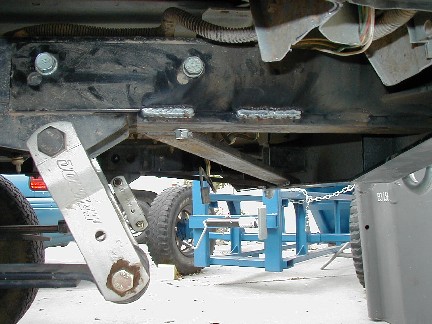
The
front piece ties two the frame from the side and bottom, and there is
also a tag that catches the bed mount. With this setup, you
can use a highlift and jack the truck up without the guard moving any.
|
|
|
From
behind...
|
|
|
From
the front. You can also see the tag that mounts to the body
mount.
|
|
|
We also added to
the Bent-Up rear bumper. Because of the clearance of the bumper
to my walk in door (see next picture) I had been concerned that if the
bumper got pushed on too much it could move up and hit the door. We
added pieces under the bumper mount that both add side to side strength,
and prevent it from coming up any as they go tight under the frame.
The two bars going
at an angle will help prevent the bumper from twisting if it is hung
up on somehting. (bottom edge from rotating outward / back from the
truck.)
|
|
|
Here
you can see the clearance from the bumper to the walk in door.
|
|
|
The
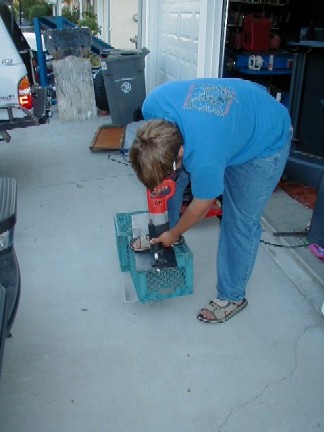
next step was to remove them and add a scrape plate.
Phillip cut some
plates for me.
|
|
|
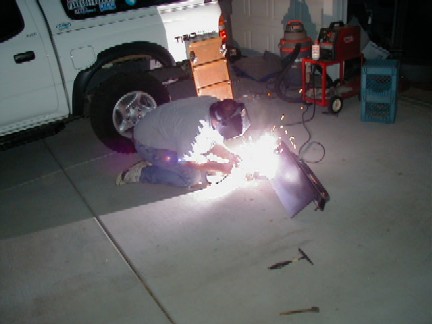
Next
I welded them in place.
Then it was off
to Vaider in Rohnert Park to have them powdercoated.
|
|
|
Here
they are, fresh back from Vaider.
|
|
|
You
can see the plate from this top view.
|
|
|
I then added a pinch
moulding to the bottom edge of the body panel.
I first painted
the exposed metal.
|
|
|
Here
you can see the back curved area of the panel, and a side view of the
moulding.
|
|
|
Here
they are back on the truck.
|
|
|
A
bottom view.
I did'nt hit the
under area on the Rubicon, and I dont think that I will have any problems
in this area!
|

Here is another
shot of Eric's card... If you need some work done, I would highly recommend
him! Click on the card to go to his site.
|
|
|
|
Back
to the Home Page
|