|
Kris
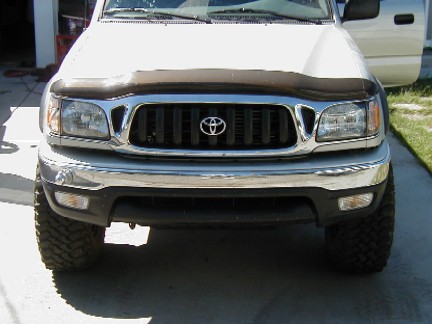
wanted a 1 inch body lift to give just a little more clearance to the
larger tires and keep them off the fenders. The 4
Crawler Off-Road (Roger Brown) 1 inch body lift was just the ticket.
You can view the instructions
here.
For
all pictures from the installation click HERE.
|
|
|
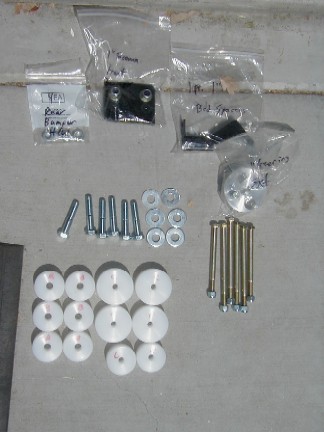
Here
is the contents of the 4 Crawler Off-Road kit. There are 6
pucks each for the cab and bed, new longer bolts, steering extension,
bed spacers, front bumper brackets, and a rear bumper kit.
|
|
|
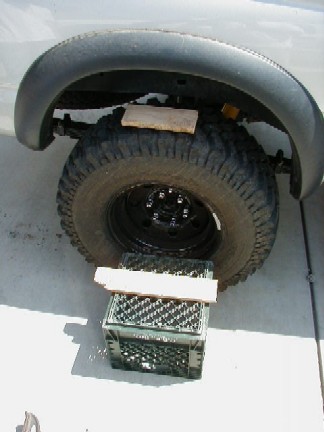
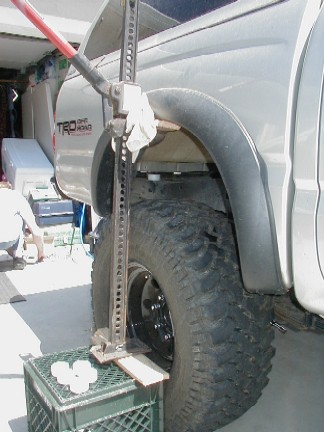
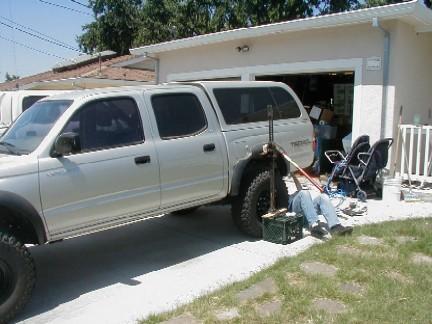
We
used a milk crate to make the high lift a little taller. We
also cut a small piece of wood to spread the weight out from the small
hook on the high lift.
|
|
|
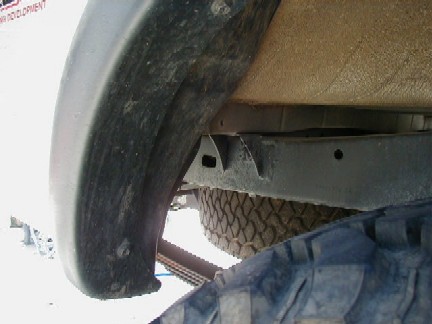
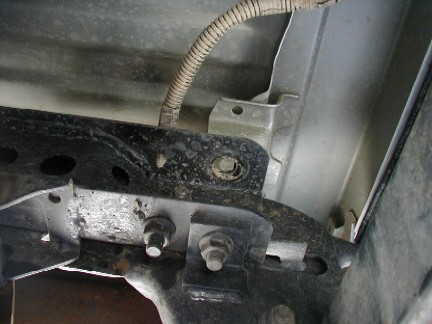
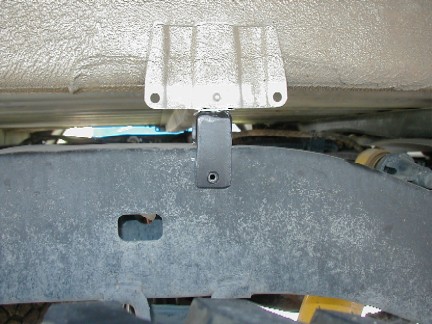
We did the bed first.
The three bolts on each side of the bed were loosened. Here
you can see the middle bed bolt. The front two are bolts
that go up through the frame bracket into nuts welded in the bed.
You want to remove
the bolts on the side you are going to do first. You want
to have the other side slightly loose so they flex easier, but if you
remove all the bolts then jack up one side the body can shift and even
fall off the frame.....not good!
|
|
|
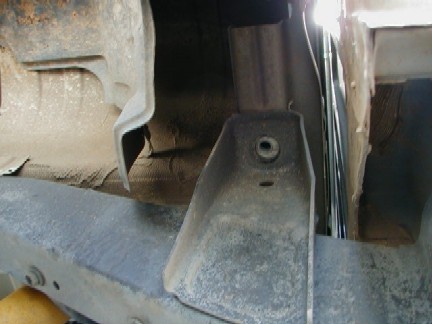
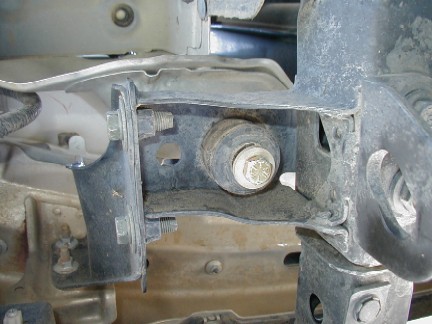
Here
is the front bed mount with the bolt already removed.
|
|
|
Here
you can see the rear mount. This one is actual a bolt and
nut.
|
|
|
With
the bolts on one side out and the other side loose, we jacked up the passenger
side just enough to slip the pucks in between the mount and the bed.
|
|
|
Once that was done
we started the bolts back just hand tight. Once you lower
it down, if you need to adjust the puck to make the bolt go in, it is
possible to lift the bed up by hand and move them around.
Note that we also
put a rag between the jack and fender to prevent any scratches.
|
|
|
Before we lowered
the bed back down, we installed the bed spacers. The bed
crossmember just sits on the frame. After a body lift, if
you don't use some sort of spacer you loose the support it provides.
We applied some
adhesive caulk to the bed spacers to help keep them in place and prevent
any rattles.
|
|
|
They
were put into place and the bed was lowered. A small
hole was drilled in the frame and a self tapping screw was put in to hold
the spacer in place.
|
|
|
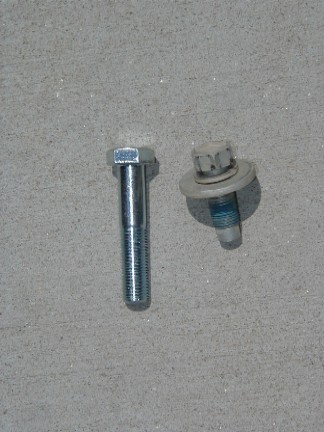
Here
you can see the difference between the factory bed bolts and the new ones.
|
|
|
Once
the passenger side was done and the bolts were snugged down , it was the
same routine for the drivers side. The bolts were not yet
torqued so once the cab is done you can make sure that the bed and cab
line up nice.
|
|
|
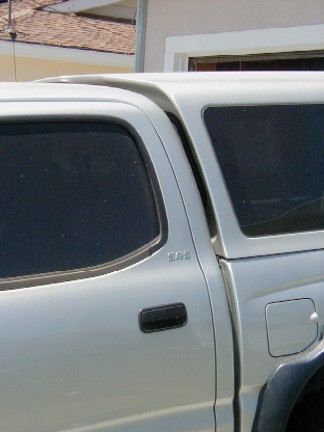
With
the bed done, you can see the difference between the bed and the cab.
|
|
|
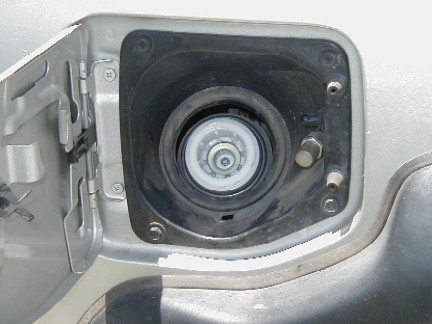
During the drivers
side, we heard a pop noise that we could not locate at first. It
was the fuel tank filler hose. We thought that there was
enough slack for a one inch body lift. That was not exactly
correct! The filler pipe pops into the plastic piece behind
the fuel door. The noise we heard was it popping out, and
the gas cap coming apart!
We
have heard feedback from a number of users that had the same thing happen
when they did their body lift. Watch out, or you will end
up buying a new gas cap like the rest of us!
More on the fix
later.....
|
|
|
It was time to start
the lift on the cab. The bolts are not so easy to get to
up here. You need to remove the trim across the bottom of
the door, or in this case, doors!
|
|
|
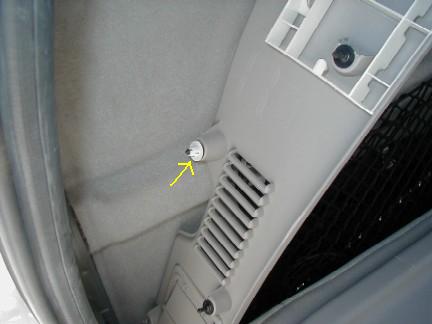
Once
the front trim is off, you can pull the kick panel out and carefully peel
back the carpet just enough to expose the middle body mount.
|
|
|
Under
the plastic cap is the top of the bolt.
|
|
|
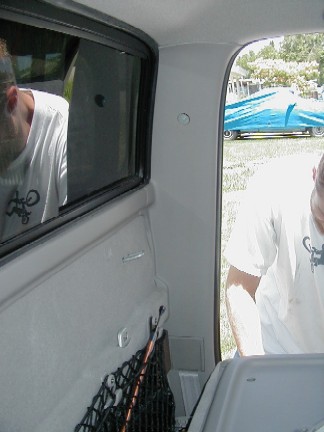
For the rear on
the double cab, you have to remove the floor strip across the door,
then the side panels.
The floor strips
have screws and snaps. The side panels are mostly snaps.
Be careful not to bend or brake and of the plastic snaps!
|
|
|
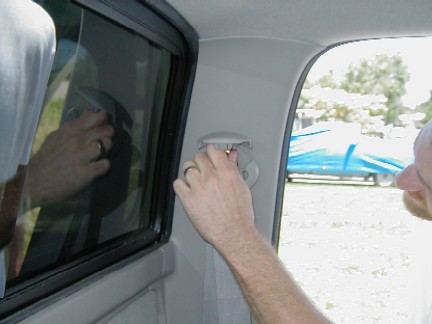
In
order to do this you have to remove the rear seat belt bolts.
|
|
|
With
them out, the panel can come off.
|
|
|
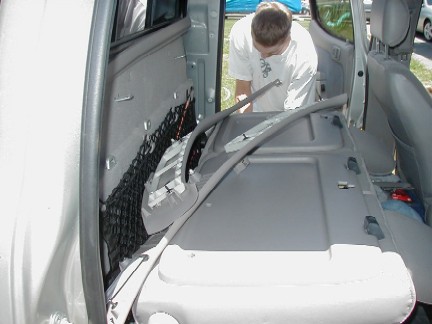
With
the panel off, you can carefully lift the carpet and again expose the
rear body bolt.
|
|
|
Here
it is!
|
|
|
The
carpet is held in place by small clips that the carpet is stapled to.
Here you can see one of those clips and the staples. I
would only pull the carpet back enough to get the top of the bolts. We
want it to go back so you never know we were in there!
|
|
|
The
front bolt is behind the bumper and the front grill. You can
remove the front bumper to get at it easier, but it is not necessary.
|
|
|
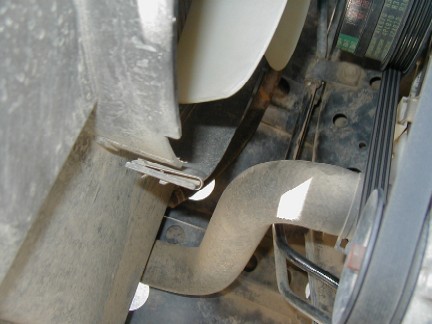
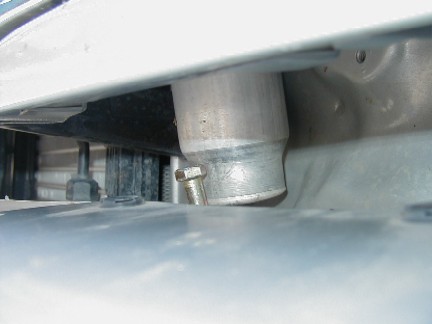
Once
the body goes up, you will also need to address the fan shroud as the
radiator is attached to the body. The bottom of the fan shroud
just snaps off. This will allow plenty of room for the fan
blades.
|
|
|
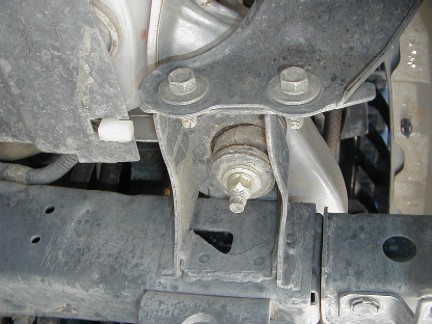
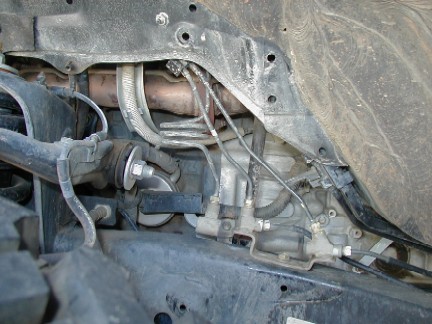
The steering shaft
was taken loose so that the body could be lifted without any bind and
the steering spacer could be put in.
The small yellow
arrow is pointing to the bolts that you remove. The small
green arrow is pointing to the bolt that you loosen to let the joint
slip up and down for adjustment.
|
|
|
Before you start
lifting, check around and make sure that there is nothing else that
is going to bind. Again, loosen the bolts on one side, and
remove the bolts from the side you are going to lift. Lift
only enough to get the pucks in!
Here the middle
puck is in.
|
|
|
Here
the rear cab mount is with the puck in.
|
|
|
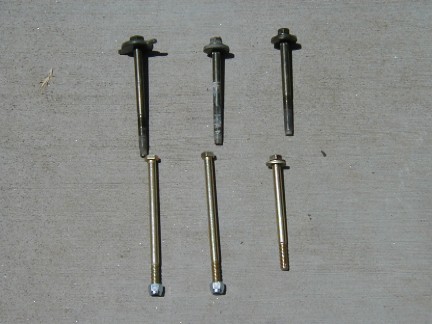
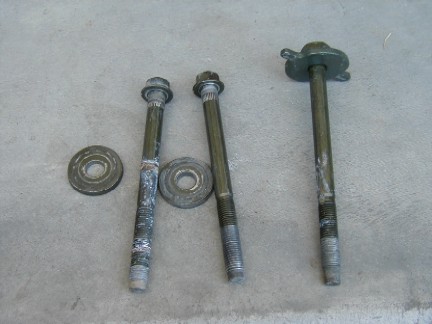
Here
you can see the old vs. new bolts. The long ones go in the
front and rear position, the short one goes in the middle position.
|
|
|
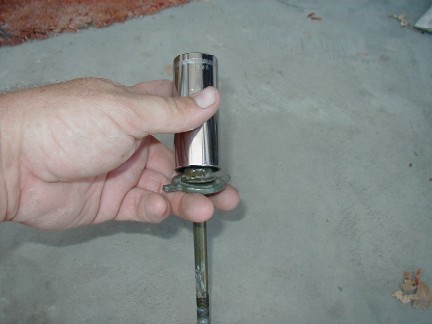
You are going to
reuse the factory washers. They are lightly pressed onto
the bolts, but are easily removed.
Using a socket and
a hammer you can tap them right off.
|
|
|
Here
you can see some of the washers off and the area at the top of the bolt
they are press onto.
|
|
|
We
found that the new longer bolt would not drop down like the factory one
as it was hitting part of the A/C system. There is a simple
solution to this....
|
|
|
We
put the bolts up from the bottom. It really makes no difference
what way you put these front ones on.
|
|
|
Again,
only lift the truck enough for the pucks to go in. The splash
guards on the side of the engine compartment had to come off, and you
can see the the coiled up brake line was a little tighter.
|
|
|
After
the lift, you can see the space between the bumper and the grill. The
kit came with a plate to fix this gap, but we will be installing it at
a later time.
|
|
|
The
kit also came with a steering shaft spacer. It bolts
right in to the shaft at the joint without any problems.
|
|
|
When
you put the panels back on, make sure that all the snaps are in the right
place! Here, the small arrow shows where one of the grommets
came out of the body with the snap.
|
|
|
Farther
up the panel, the snap came off and is still in the body.
|
|
|
Here
you can see the body, with the grommet missing at the lower arrow, and
the snap still in the upper arrow. Be careful with these things,
they are easy to break! In the middle you can see the white
grommet still in the body.
|
|
|
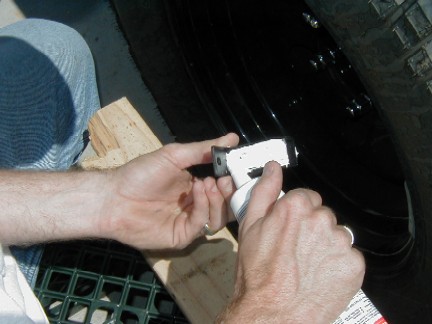
The
next step was to deal with the gas tank filler. You can remove
the plastic part by removing the 4 small bolts in the corners, then it
comes out as shown here. The filler pipe just easily snaps
into the part we have removed.
|
|
|
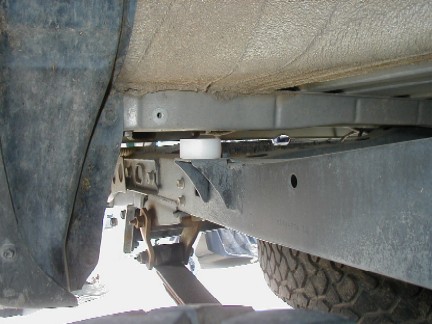
There
is a clamp that holds all the hose and vent lines. There is
one bolt that holds it to the frame, then a bolt and nut that holds the
clamp together. We removed all the bolts and nut and then
let the hoses move slightly out and then reattached them into their new
position. There is a small snap type clamp that the arrow
is pointing to that also has to be released. This clamp was
the hardest to work with.
|
|
|
The hose has a small
raised section that keeps it from moving in the clamp. We released
it and then reattached the clamps back together in their new position.
The snap clamp went back together partly, but because of
the raised section, not quite all the way. Everything is still
secure and supported, so it should not be a problem.
You can see the
small raised section at the arrow.
|
A
slight adjustment was made to the shift linkage and the lift was finished.
The
1 inch body lift did not require many adjustments or modifications. It
is however easy to see
that the taller body lifts would. Overall, the kit was easy
to install and for this application took 4-5 hours.
|
|
|
|
|
|
7-11-2004
|
|

|