I decided to go with King coilovers. The truck was sagging a bit in the front from the ARB bumper and winch, so these will correct that problem and give a little lift for now.
Click HERE for the rear shackle install.
I have now installed a 5 inch lift in combination with the Kings. Click HERE for more info!
There is a potential problem with the King shocks and aftermarket braided brake lines. To solve this problem, we had custom lines made. Click HERE for more info.

Here they are straight from the factory in the box!

OK, so here is a list of the tools you will need to complete the job... jsut basic stuff:
--Factory crank
jack and lug wrench
--14mm wrench for
3 top of strut nuts / bolts
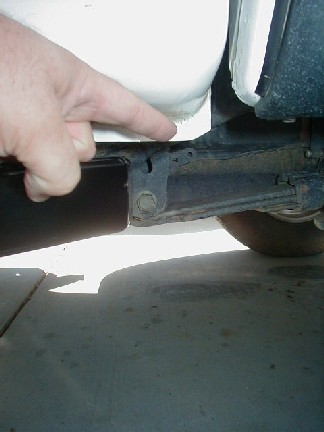
--11/16 or 17mm box wrench for swaybar nut
--1 Jackstand
--6mm allen wrench for King shock height adjustment
--3/16th allen wrench to hold stud on sway bar disconnect
--Rubber mallet
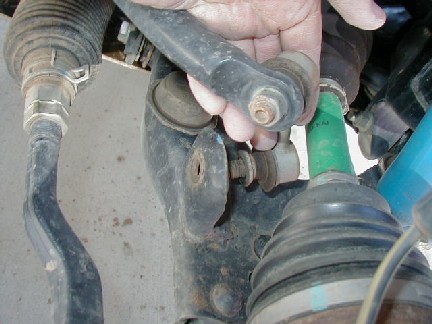
19mm Socket and ratchet for lower strut bolt
Here we go!

I measured the truck height front and rear before I started. I was doing both the front Kings and rear Downey shackle today.
This is where I measured the front: from the bottom of the pinch weld to the ground.
This is where I measured the rear: from the bottom of the pinch weld to the ground.
These are the before measurements. Remember, the front on my truck was sagging because of the ARB bar and winch.
RF=16 1/2
RR=17 1/4
LF=16 1/8
LR=16 3/4
The people at King said that they had some pretty good scaled they use to weigh vehicles to determine weight for shock settings, and that the Tacomas did not weigh the same from side to side, so they come slightly off. I could set the new shocks to account for this if I wanted, but I think that none of us Tacoma owners have noticed so far, so I just need to be close... I am not that picky!

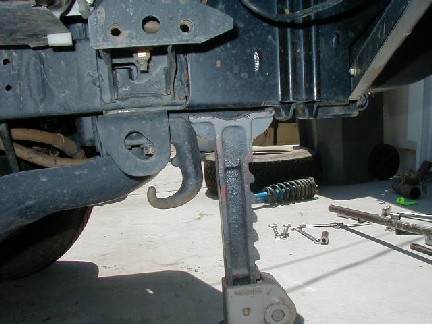


Loosen and remove the 3 nuts that hold the top of the stut to the truck.
****WARNING!!****
DO NOT REMOVE THE LARGER CENTER NUT! THIS HOLDS THE SPRING AND
STRUT TOGETHER, REMOVING IT WILL CAUSE IT TO COME APART AND IT CAN HURT
YOU! THE SPRING IS UNDER QUITE A BIT OF PRESSURE!

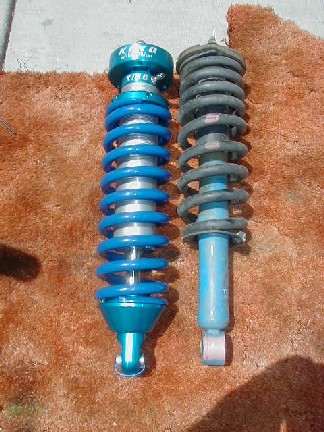
Here is the factory strut next to the King unit. The King unit is just slightly longer.
I talked to King about this, and they said that if you use a longer strut that lets the front drop much lower, steering and other parts can bind and cause serious damage.
In the future, we will play with modifing these parts and getting some more travel!

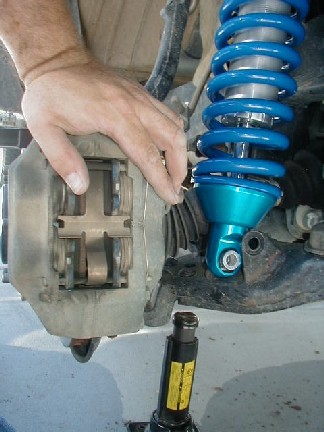
You will have to press down some on the suspension to get the bottom bolt back in. The suspension likes to sit up a bit, just press down and insert the bolt.
After the bolt is in and tight, you need to put the wheel back on and check the height. Once the King coilover is set to the height you want, tighten everything down, and you are done! I put the sway bar back on after I was done with both sides.

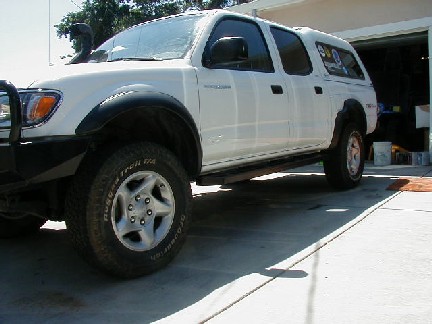
Here are the before and after pictures. I was quite happy with the result! Here are the new and old measurements:
OLD MEASUREMENT NEW MEASUREMENT HEIGHT GAIN
LF = 16 1/8
RF = 16 1/2
LR = 16 3/4
RR = 17 1/4
LF = 19
RF = 19 1/4
LR = 18 7/8
RR = 19
2 7/8
2 3/4
2 1/8
1 3/4
The front was pretty close side to side, the back was actually off more. Like I said, I am not that picky, and the amounts that it is off are not visible unless you have a tape measure.
The thing that I would have liked to have done before was to ramp it. It would have been nice to see the gain with the rockstomper kit on one side vs. the stock rear suspension.