I HAVE RE-DONE THE REAR BUMPER.... CLICK HERE FOR THE INFO
I wanted to upgrade my rear bumper, but was having trouble finding one that I liked. I had found a person that was making them, but when I finally got approval from the wife to order one, he had stopped production.
I was surfing the web and I found a message that refered to AJ and Bent-Up products. I went to his web site, and found the rear bumper that I wanted! I was not ready to buy one and so I had to play the waiting game again.
When it finally came time to buy one, I read a post on the Tacoma Territory message board that said that AJ had stopped production on the rear bumpers. I almost had a heart attack!! Not again!! I e-mailed AJ and he promply replied. He was going to be building 10 of the rear bumpers in a few weeks, and I got my name on the list for one of them!
Below are the pictures of the installation.
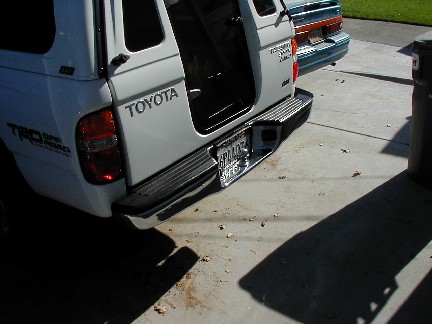
Here is the stock rear bumper from the side.
I wanted the new bumper to not only be stronger, but to also hopefully increase the departure angle. The new rear bumper will also provide tow strap mounting points.
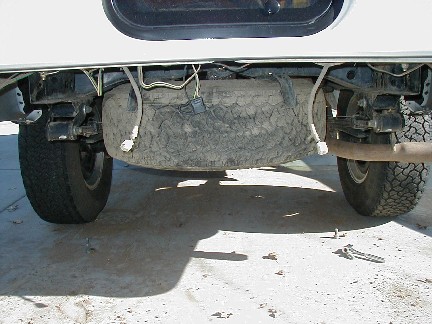
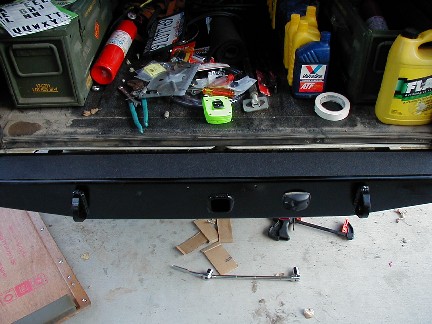
Here you can see the rear of the truck with the stock bumper removed.
The stock bumper bolts directly to the frame.

I attached the new rear bumper to the truck with the bolts just hand tight. The idea was to check the clearances and make any changes that might be necessary before I painted it.
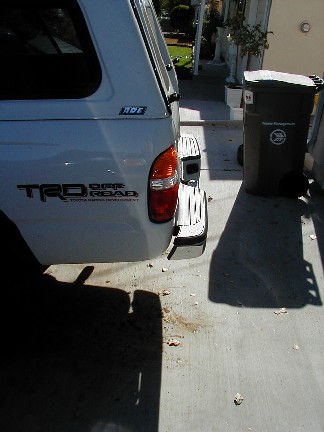
The mounting holes in the new bumper lined up perfectly. The problem that I had was that the new bumper was designed for a truck with a tailgate. With the tailgate, it is perfect, but I have the walk in door.

Not only am I going to move it forward slightly, but I also want more clearance between the walk in door and the bumper. You can see here that with the door closed, the weather strip actually rubs on the bumper slightly. Although this may not cause any problems, I would like to have some room for a little flex when I drag the rear bumper when off-roading.
I drilled new holes that moved the bumper slightly forward and slightly down. (SEE NOTE AT END!)
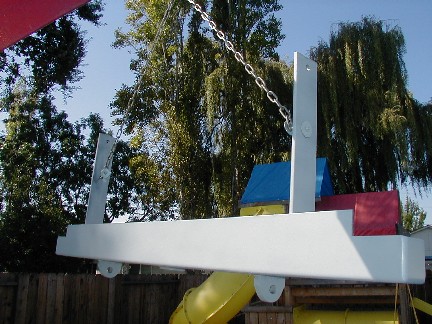
The next step was to spray the bumper with primer.
I used my engine hoist to hold the bumper up at a comfortable working height, and sprayed it.
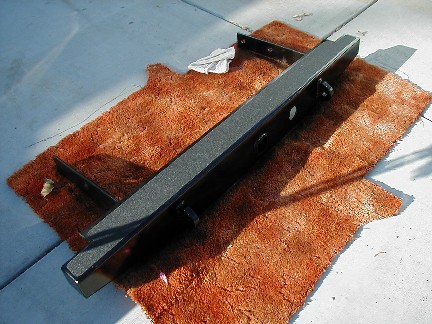
I sprayed the bumper with Rust Oleum Gloss Black paint, and then cut a strip of non slip tape to put on the top of the bumper.
I was thinking that the paint would hold up, but it is just not going to cut it. I will wait for a few months to see if I want to make any other modifications and then I will take it off and have it powdercoated.

Here you can see the final result. I will be adding some big D-shackles to the tow points, but I will also glue some small pads below the shackles so they dont rattle and make noise like others I have heard.
As I said above, I will also have it powdercoated at a later date.