Ken's 03 Tacoma Double cab front springs were starting to sag a little, causing the front tires to rub slightly when turning. To solve the problem he ordered a set of All-Pro Off-Road 1 inch coil spacers. The installation is fairly easy, but I was surprised that All-Pro did not include any instructions with them. There is a link on their web site for instructions on their 2 inch kit, but nothing on the 1 inch kit which is actually harder to install.
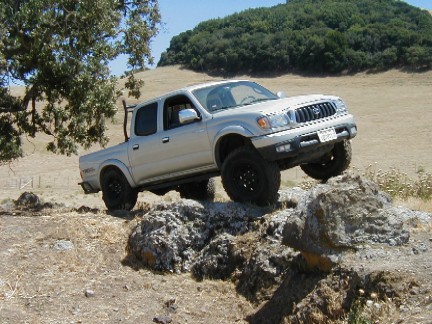
After installing the lift, we went for a test drive and to take some beauty shots at the ranch. Ken said that he did not feel any difference in the ride, but he could feel the height difference. You can e-mail Ken directly if you have any questions.
For all pictures of the install click HERE.
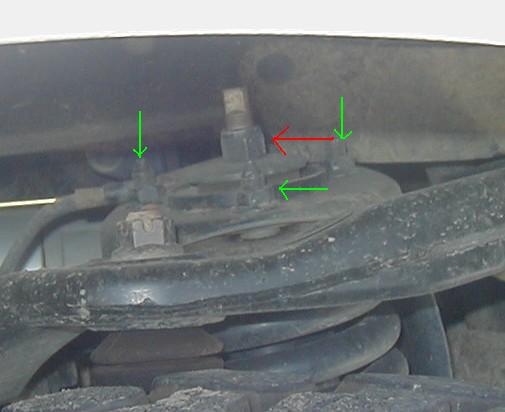
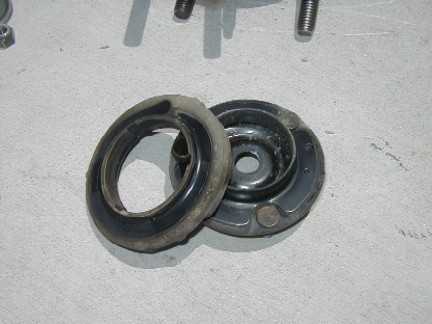
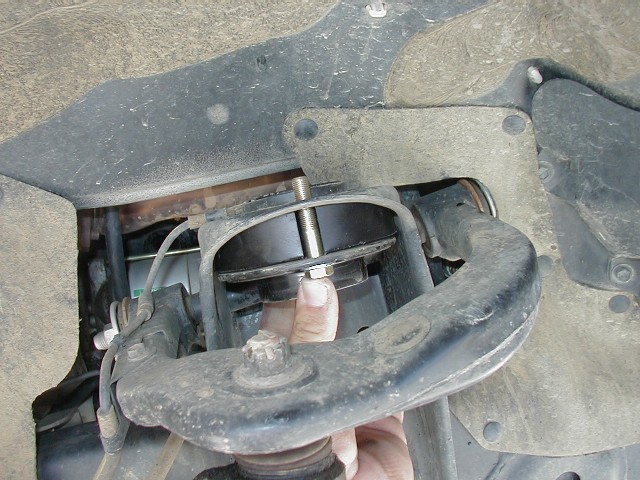
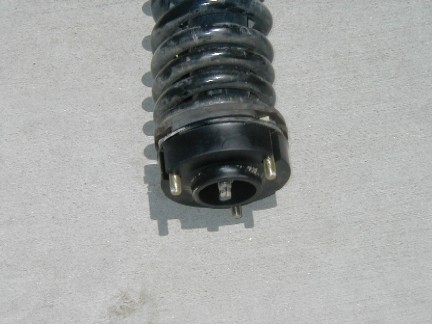
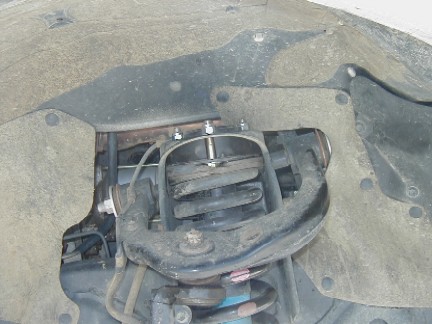
Here is the top of the strut. There are three nuts in a circle at the top of the strut that hold it to the truck. The bolt in the center of the strut holds the top plate and the spring together.
WARNING:
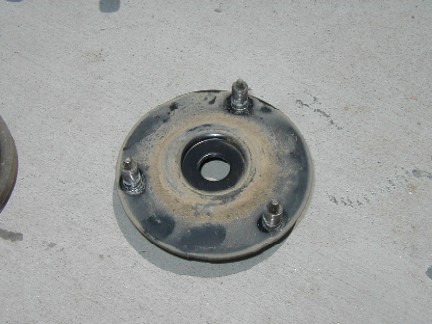
The spring is under high pressure. Removing the nut that
holds the top plate on without first compressing the springs can result
in serious injury! The small arrow in the picture is pointing
to the nut. Click on the picture to the left for a more
detailed picture. The arrow in red is the spring top plate.
The arrows in green are the mounting nuts.

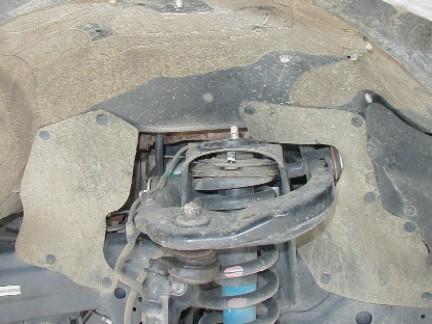
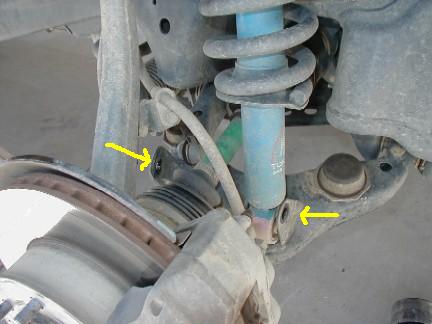
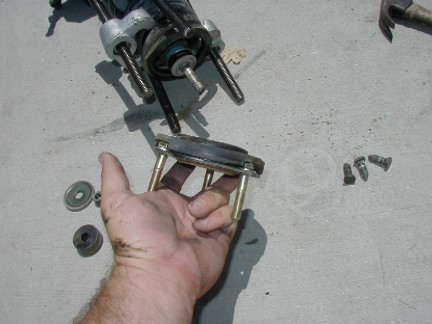
Next, remove the sway bar from the lower A arm (left arrow) and the bolt that holds the strut to the lower A arm (right arrow).
The strut is now loose, and you can

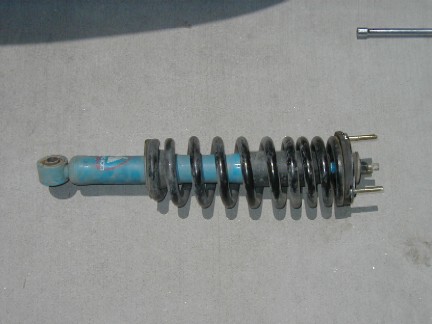
You can then use a set of spring compressors to compress the spring and remove the top plate. We found that it made it very easy to use one set to compress the spring most of the way, then use a second set to release the pressure from the end of the spring near the top plate.
I have 2 sets of spring compressors. The good set did most of the work, the second set finished the job. In the picture you can see that the second cheapy set is bending under the little pressure we have them holding. I cant imagine really using the cheap set to do the entire job, I would not feel really safe!

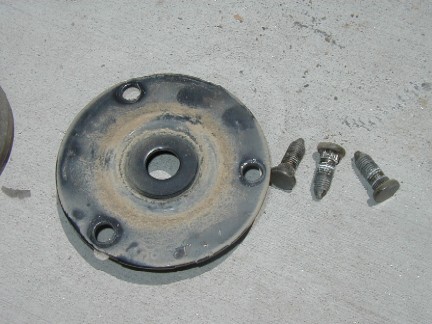
This is where we ran into a problem. The bolts that All-Pro provided with the kit were not long enough. They need to go through the top plate and the new spacer and have enough thread left to put a washer, lockwasher and nut on. They did not even make it through the mounting bracket!
I called All-Pro about this problem and found out that it was a packaging error. They offered to send out a new set of bolts, but we had already finished the install.
Click the picture to enlarge it.
The solution was to replace them with some longer bolts. The bolts they provide are also grade 5, I prefer to use grade 8 and nylocks instead of lock washers.
Click the picture to enlarge it.
Install the new mounting bolts into the top plate, then reinstall the rubber bushing. You can then put the top plate back onto the strut.
Tighten the top plate nut all the way down before you start to release the spring compressors!
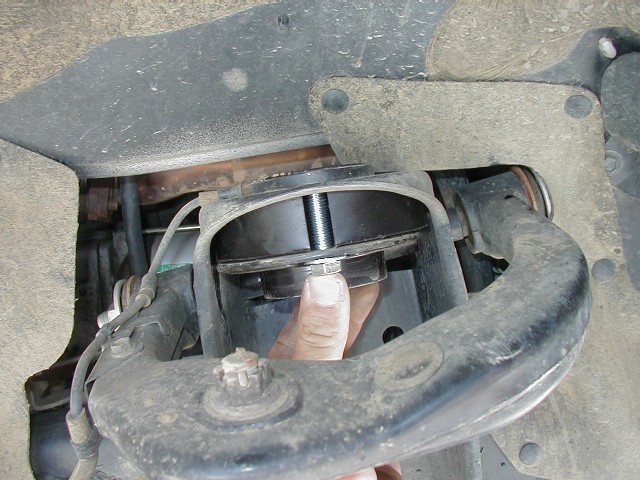
Reinstall the strut onto the vehicle. Attach the strut to the top mount with the three new nuts. Put the lower mounting bolt back in and tighten everything down.
Once both sides are done you can reattach the sway bar. You need to keep the sway bar off until then so you can move the front suspension freely.
Check that all bolts are tight then put the wheels back on and go for a test drive!
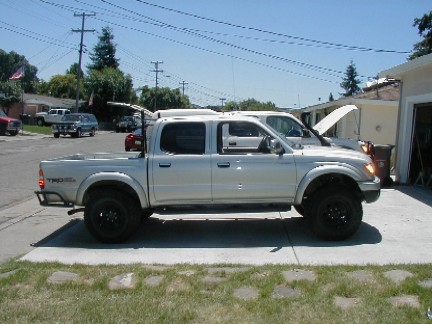
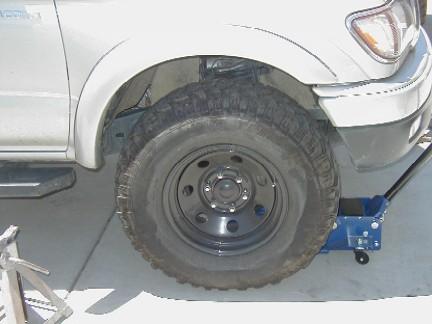
With the spacers on, you could see the front was slightly higher than the rear.
6-27-2004