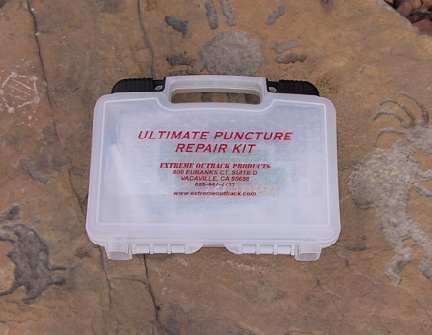
Extreme Outback Ultimate Tire Tire Repair Kit
 |
Repairing with a Patch |
 |
Patching a tire or tube on your truck is just like on your bike. Getting the tire off the rim however is going to require more than two screwdrivers.
 |
Repairing a tube or tire with a patch requires the removal of the tire from the rim. We will not cover how this is done here, as this is about the application of a patch to a tire. Most of us have repaired a bicycle tube at one time or another. So we will not cover that, however patching a tire can be intimidating. Here we can see the screwdriver through the tread. We removed the sidewall for ease of viewing. |
 |
Here you can see the hole in the tire. We marked it with the chalk provided with the kit. |
 |
This is called a stitching tool. It has a buffing end and a stitching end. It does not stitch in the sewing sense, but rather it allows you to put pressure on the patch in a rolling manner to bond the patch properly. |
 |
After removing the offending object and making sure the tire is dry, use the buffing end of the stitching tool to roughen up the rubber. Make sure you remove the liner, this is a coating and will resist bonding with the glue. |
 |
Here you can see the area buffed out. Around the edges you can see the coating you have to remove. The brown ring is the liner not quite cleaned off completely. |
 |
Make sure the patch is going to fit in the area that you buffed out. |
 |
Apply the rubber glue to the entire area buffed out. This glue provides the vulcanization for the rubber. It is important spread the glue evenly and smoothly. |
 |
Using the stitching tool, roll the patch flat from the center out, making sure that all the air bubbles are out. Applying fairly strong pressure, make sure that you roll the stitching tool completely over the patch. |
 |
Here is the completed patch on the right. There is a patch on the left done by a well known tire company.
Now all you have to do is remount the tire on the rim and set the bead. (Ok, so that's not so easy.) |