In this article we will show the process of repairing a tire using this kit.
For more information please go to the Safety Seal web site at www.safetyseal.com
or call 1-800-888-9021
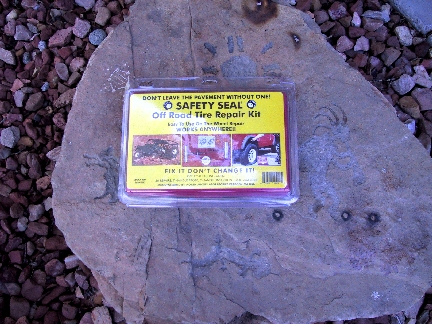
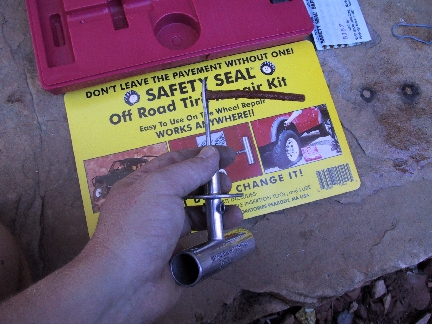
Safety Seal Off Road Tire Repair Kit Easy To Use On The Wheel Repair That Works Anywhere! |
|---|
|
In this article we will show the process of repairing a tire using this kit. For more information please go to the Safety Seal web site at www.safetyseal.com or call 1-800-888-9021 |
|---|
Getting a flat off-road is a fact of life. Changing a tire is a pain in the butt, and sometimes very impractical due to snow, mud, heat, cold, tools, time, injury, or any other impediment. So instead of changing your tire because of a small hole, repair it permanently on the trail! This is the same kit professional shops use to plug tires. It is 100% self vulcanization, no need for messy and toxic cements. Easy to use. Made from the same ingredients as the tire and fibers, so it will not hurt your tire. Road, lab, and test track proven. |
|---|
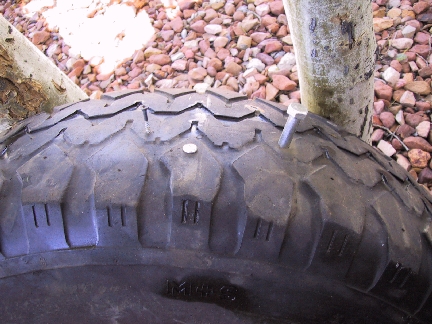 |
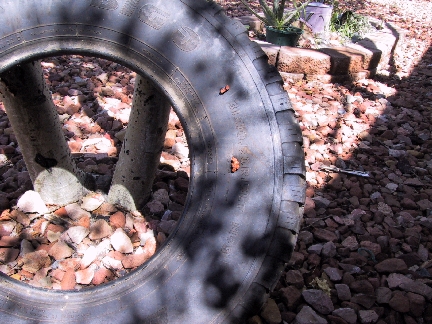
This repair kit can handle up to a 1/4" hole in your tire. Done correctly this is a permanent repair in the tread area of your tire. For this instruction we have used an older spare tire. It is a 31x10.50 r15 well over 10 years old and not a huge loss. We hammered and drilled in several screws to provide the holes for the instruction. For the large lag bolt we had to drill a pilot hole with a 1/8" drill bit before hammering in the lag, it was still a tight fit. |
|---|---|
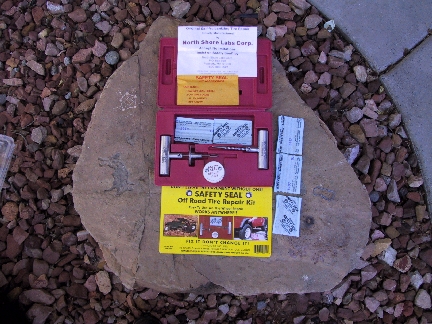 |
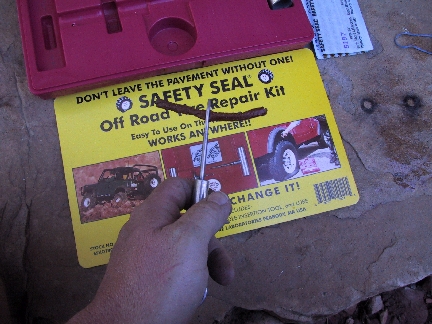
After determining that we had a 'hole' in the tire, we broke out the repair kit. It is very complete; it comes with, 30 plugs, steel belt probe, insertion tool, Lube, instructions, spare needle, allen wrench, set screw, and blades for trimming. |
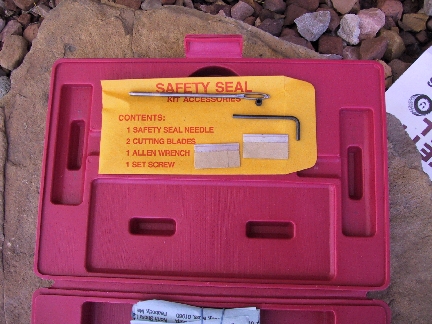 |
If for some reason you break a insertion tool needle, it has a spare. It also has the set screw and wrench needed for replacement. |
 |
Be sure to read the instructions first. This write-up is only a guide to show how easy and effective this kit is. There are two kinds of tires show in the instructions, a nylon type, and a steel belted type. The procedure is only different in the use of the probe for the steel belted tires. |
 |
After locating the offending object in your tire, leave it in. You do not want to let all the air out while you prepare your plug. Remove a plug from the protective paper and start working it in to the insertion tool. |
 |
Work the plug to the middle of itself. Keep it clean and free of dirt and dust. |
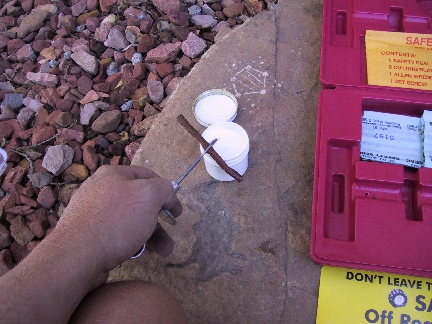 |
Lube the tip of the insertion tool, and the tip of the probe. It does not take much to lube them just a dip. Do not use any other lubricant, as it may interfere with the bonding of the adhesive. |
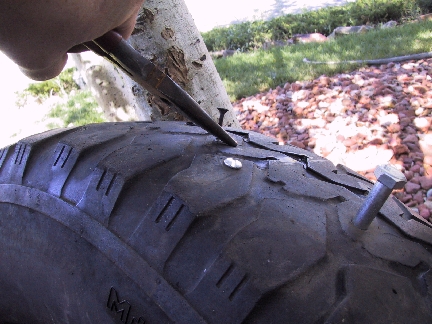 |
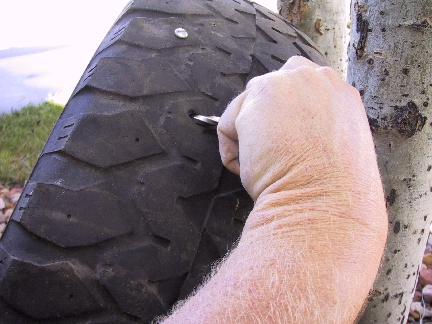
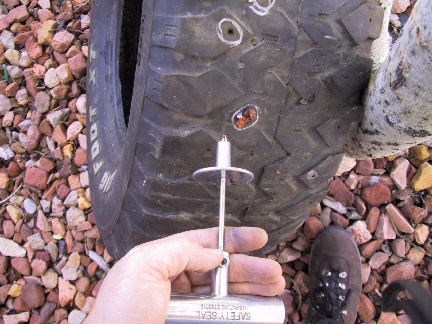
Using what ever tools you need to, remove the offending object. Quickly move to the next step, insertion of the probe. We had to use a wrench to 'unscrew' the lag bolt we hammered in. |
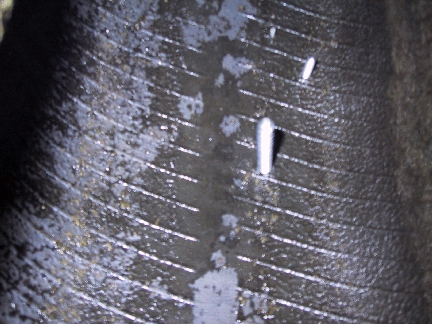 |
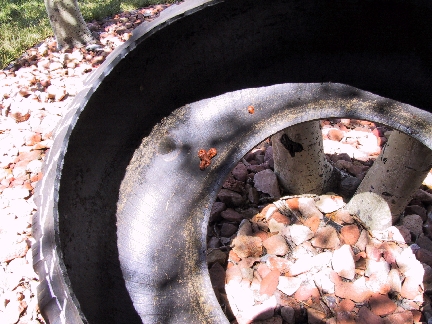
Just to show, we took a picture of the objects from the inside of the tire. You can see the huge lag bolt and the smaller screws above. |
 |
After removing the lag bolt, we discovered (gasp!) a big hole! Since this is a steel belted tire, quickly insert the probe, this will slow or stop the leaking of air for now. |
 |
Work the probe around, up, down, and in a circular manner to move the steel belt threads. |
 |
Really work the probe around, if the steel threads are not moved, it will be difficult to insert the plug. |
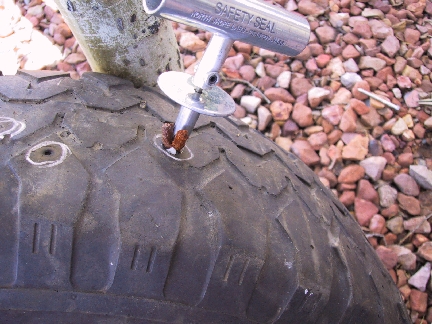 |
Insert the plug. It will require a bit of force, and you may need to twist, or wiggle the tool. Be careful to not push the plug all the way through. |
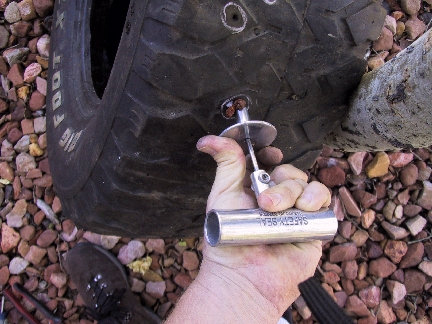 |
Remove the tool and leave the plug by pushing on the slide, and pull on the tool. Two hands are best for this, my other hand is taking the picture. |
 |
The slide makes it easy to remove the tool and leave the plug. |
 |
Trim the excess plug as neatly as you can. If the plug is in a void, and cannot be cut flush, just cut it even or as low as you can. Cutting it lower than the highest blocks is ok, it will wear with the tire normally. |
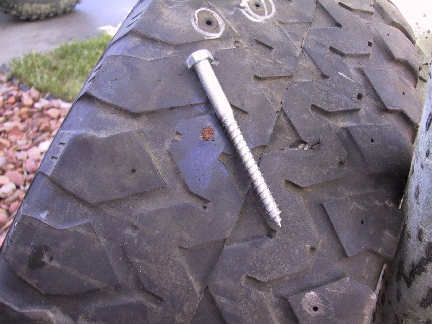 |
Here you can see the completed repair, and the offending object. This is a permanent repair, if you really want however, you can have it patched on the inside by a tire shop later. |
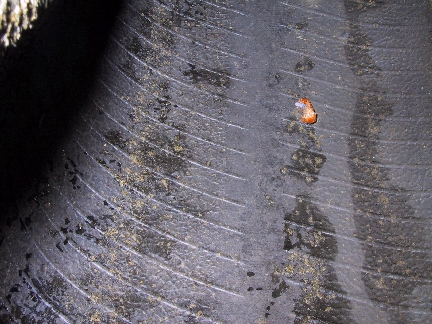 |
Here is the plug on the inside of the tire. It is solid, and will not come out. It is too small to affect the balance of the tire. |
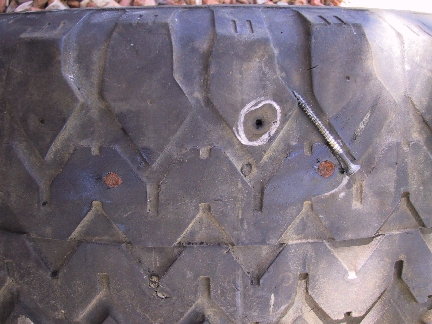 |
We continued to plug the smaller holes. As you can see, the small screws plug looks the same as the lag bolts plug. The lag bolt was on the left, the small screw was on the right. |
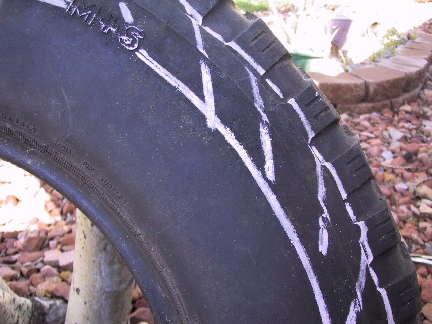 |
This kit is designed to repair you tire in the tread area only. It can plug holes in the sidewall, but the tire should be taken to a professional for evaluation.
The area marked is of particular interest. As this area very weak, and flexes as the tire is driven down the road. Any damage in this area and the tire should be replaced. Any repair in this area should be taken with care as the plug may come out as you drive. This is also the area where the sidewall ply's and the steel belts just come short of coming to each other. |
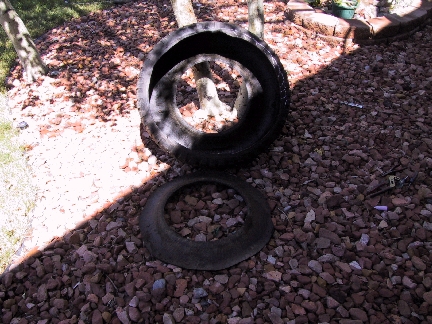 |
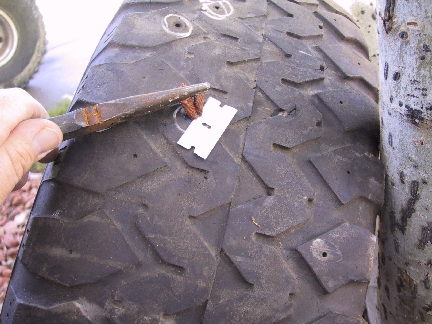
To show how easy it is to damage this area, we 'donut ed' this tire with a simple knife with ease. |
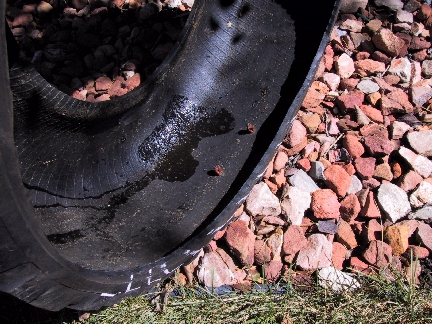 |
You can see the two plugs we installed. You can also see that there is very little reinforcement on the sidewalls. |
 |
We did two repairs on the side wall for examples. The upper injury is a simple hole, The lower injury is a full one inch cut. Plugging a cut we used four plugs, and it was ugly, but with lower tire pressures, it would have got us home. The tire is beyond ruined with a cut like this. When you trim the plug on the sidewall do not trim it flush, as it may fall inside the tire if you do. |
 |
Here are the plugs on the inside of the sidewall. |
|
For more information contact Safety Seal, at North Shore Labs Corp. P.O. Box 568 Peabody MA, 01921 1-800-888-9021 Or your local Off Road shop |